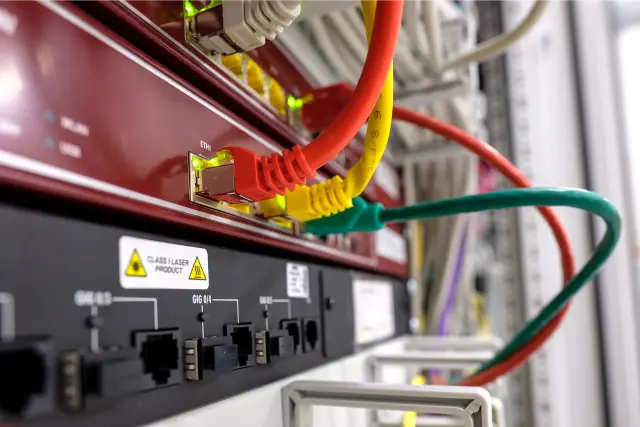
Logging into a router is a necessary step if you want to configure its settings, such as changing the Wi-Fi password, setting up port forwarding, or updating firmware. Here’s a general step-by-step guide on how to log into a router. Keep in mind that the exact steps to Log into a Router might vary slightly depending on the router model.
Step 1: Connect to the Router
Ensure that your computer or device is connected to the router either through a wired (Ethernet) or wireless connection. It’s commonly recommended to use a wired connection for initial setup to avoid any potential issues with Wi-Fi.
Step 2: Find the Router IP Address
The router’s IP address is necessary to access its web-based interface. Common router IP addresses include 192.168.0.1, 192.168.1.1, or 192.168.2.1. You can find this information in the router’s manual or on a label on the router itself. If you still can’t find it, you can check your computer’s network settings.
On Windows, you can use the Command Prompt and enter ipconfig. On a Mac, you can use the Terminal and enter ifconfig. Look for the “Default Gateway” IP address; this is likely your router’s IP address.
MUST READ: How To Load Tokens on Prepaid Meter Online
Step 3: Open a Web Browser
Open a web browser of your choice (e.g., Chrome, Firefox, Safari, Edge) and type the router’s IP address into the address bar. Press Enter.
Step 4: Enter the Router Login Credentials
You’ll be prompted to enter the router’s login credentials. The default username and password are often provided in the router’s manual or on a label on the router itself.
Common default usernames are “admin” or “user,” and the default password is often “admin” or “password.” If you’ve changed these credentials before and can’t remember them, you may need to reset the router to its factory settings (consult the manual for instructions).
Step 5: Navigate to the Settings
Once you’ve logged in, you’ll have access to the router’s settings. The layout and options can vary, but common settings include Wireless (for Wi-Fi configuration), Security (for password changes), and Advanced Settings (for features like port forwarding and firmware updates).
Step 6: Make Changes and Logout
Navigate to the specific settings you want to configure, make the necessary changes, and don’t forget to save your changes if required. After making changes, it’s a good practice to log out of the router’s interface, especially if you’re using a shared computer or device.
Remember that router models and interfaces can vary, so these steps provide a general guideline. If you encounter difficulties, consult your router’s manual or the manufacturer’s website for specific instructions related to your router model.
'Want to send us a story? Submit to NAIROBIminiBLOGGERS via our Email nairobiminiblogger@gmail.com'

Drop Your Comments, What do you think About The Article?